Exaud Blog
Blog
Introducing the Reference Finder: Simplifying Unity Development (Part I)
This article discusses the benefits of using Reference Finder and provides a step-by-step guide on how to use it. Posted onby Francisco Leites
If you’re a Unity developer, you know that finding and managing the right
references can take up a considerable amount of time. But don’t worry! Our
Junior Unity Developer, Francisco Leites, has come up with a
solution.
During his training hours at Exaud, he created an in-house open source
tool called Reference Finder that automates the process of finding
references to objects in Unity scenes. In this article, he’ll share the
benefits and provide a step-by-step guide to use this tool. Let’s
begin!
What is “Training” and how I Used It
Exaud provides their developers with an opportunity to invest in their professional growth. Specifically, the company offers 2 hours a week for developers to learn new technologies and improve their existing knowledge. These hours can be split up throughout the week and used for personal projects or training sessions. It’s also a great way to take a break from their current project, which can help them return to the work with a fresh perspective.
For me, when developing a project, I would decide on the week’s objectives over the prior weekend and plan how to distribute my hours accordingly. For example, if the objective was to get a feature working, I would spend the full 2 hours in a day. However, if the objective was to research a particular approach to a solution or code refactoring, I would settle for small chunks of 30 mins over 4 days of the week. It took me a while to get used to this methodology, but after some time it became second nature, and it definitely helped me to stay motivated in the project, making steady progress over the course of several weeks.
Reference Finder Introduction
During the development of one of Exaud’s Unity projects, while fixing a bug or implementing a new feature, I would come across some problems related to finding references to objects in a scene by other objects. It could take me long periods of time to find these references, and I would sometimes have to ask higher-ups or people that knew more about the project to help me find them. It could even be that, after all that time searching, I wouldn’t find what I was looking for, wasting precious development time (and my patience).
The Unity Editor allows a developer to find references to a component in a
scene by right-clicking the component and selecting the “Find References on
Scene” option. However, this approach has a few problems – at least as of
the time of writing and in versions 2021 and earlier of the Unity Engine:
– Finding references to a GameObject is impossible.
– These references are scene only, not finding references on the prefab or the prefab preview stage.
While there are some tools available to help with this problem (both paid
and free), I set out to create a tool that would find references of objects
in all open scenes, assets and the prefab stage using the (kind of) new UI
building system from Unity, the UI Elements. I opted to make it open source
to help other developers that want to know how it works and can extend the
solution as they see fit, and for education purposes, as some of the
implementations were based on circumventions or exploiting of Unity’s
frameworks, which are often difficult to find or poorly documented.
How Does It Work?
On the user side, the tool has has several elements that compose each part
of it. The tool is divided into the Toolbar, the search type, the search
parameters, the ‘Find References’ button and, finally, the references
lists.
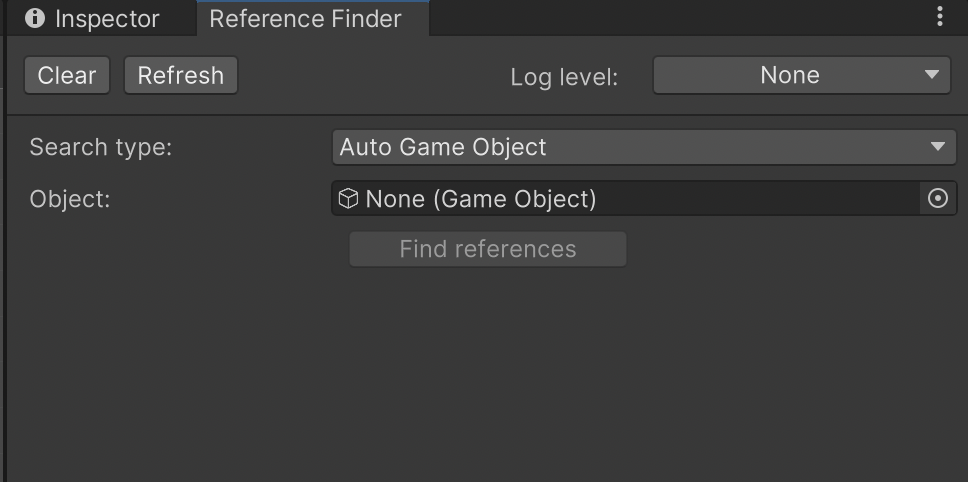
The toolbar provides some options to the user, such as clearing the results,
reseting the tool and changing the tool’s logging type.

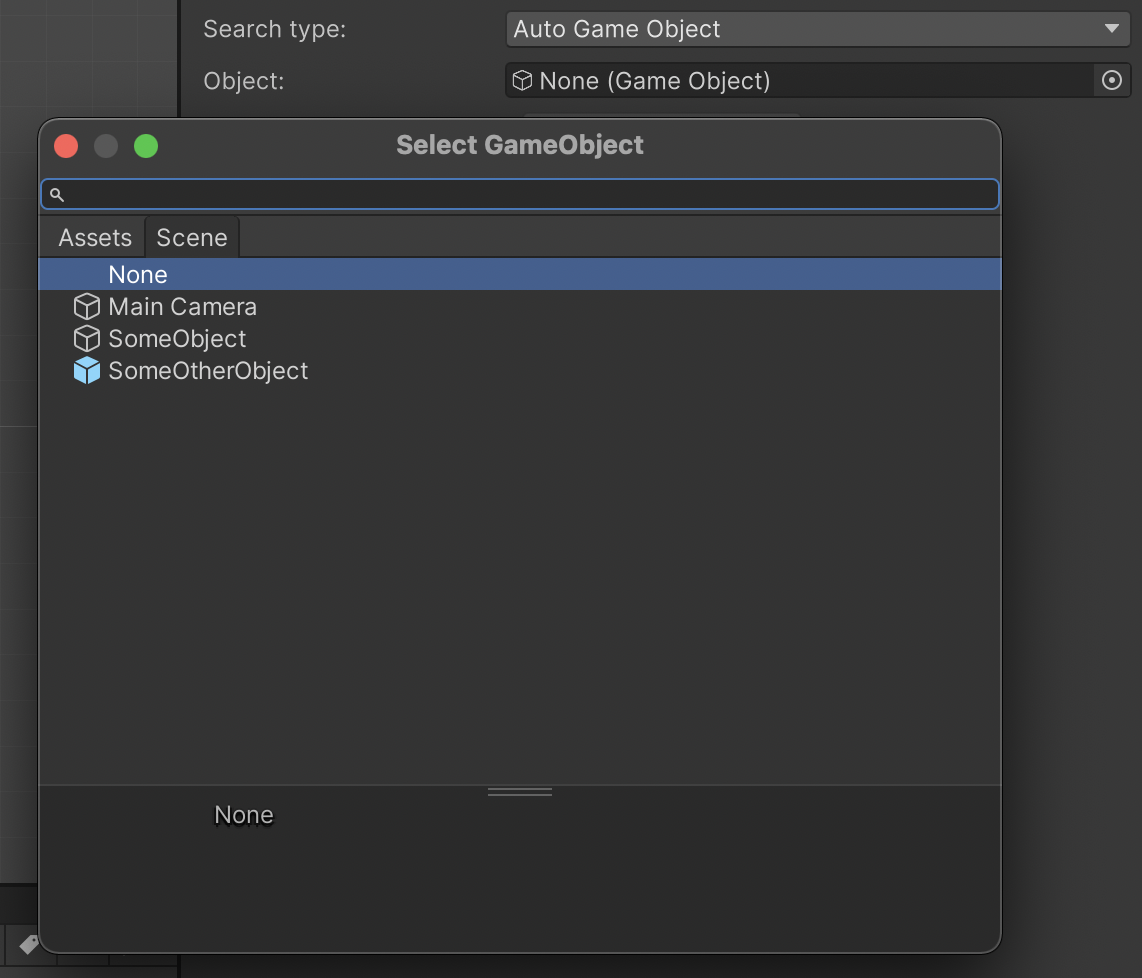
The search type presents the user with three options, “Auto GameObject”
which filters the search parameters to only show GameObjects; “Auto
ScriptableObject” which filters the search parameters to only show
ScriptableObjects; and “Any” which shows all available objects to the user,
with no restrictions.
By default, the Find References button is disabled and shows a tooltip
message if the user hovers the mouse over it. Once the user selects a type
and an object, the button becomes available.

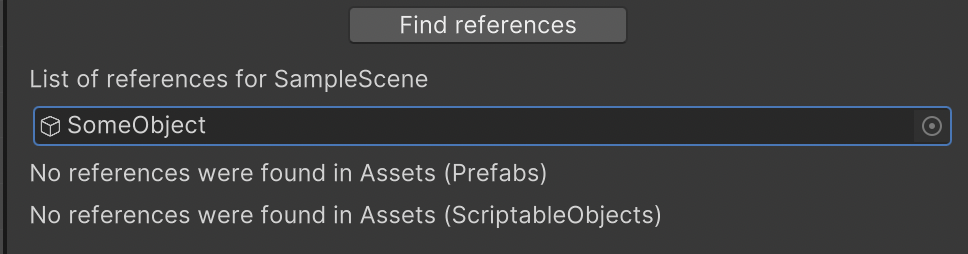
Clicking the button shows the search results and displays them in a list per
area. If no references are found in a particular area, a message saying “No
references found at [area name here]” is displayed. Clicking any of the
references will lead the user to the respective Object where the reference
was found.
Thank you for reading part one of our article on Reference Finder! We hope
you found it informative and helpful. Stay tuned for part two, where we will
dive deeper into the features and functionalities of this useful tool.
Related Posts
Subscribe for Authentic Insights & Updates
We're not here to fill your inbox with generic tech news. Our newsletter delivers genuine insights from our team, along with the latest company updates.