Exaud Blog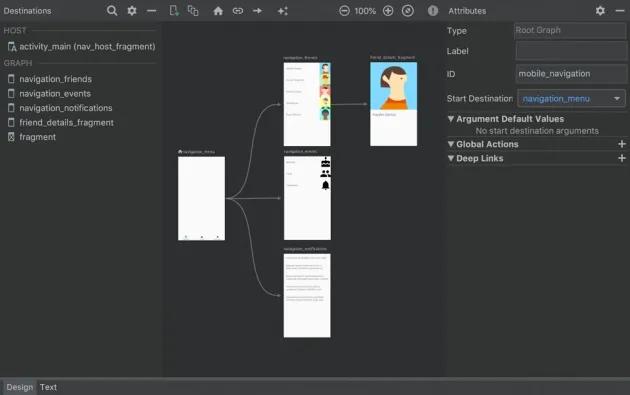
Blog
Using Android Jetpack’s Navigation Component
Check how Android Jetpack’s Navigation Component can simplify and create consistency when implementing Navigation on your App! Posted onby André LopesAndroid Jetpack’s Navigation component is an Android Library that aims to simplify and create consistency when implementing Navigation on your app. It also presents a new way to build and visualize the screens and actions. Navigation Component first alpha version was released on May 8th, 2018 while the stable version 1.0.0 was released on March 14th, 2019.
Required Steps to Add Navigation to Your Project:
Create a Navigation graph by adding a new resource file with Navigation as a resource type. This step should ask if the required dependencies should be added to the Project and display the newly created Navigation Graph on the Navigation Editor.
Build.gradle:
implementation 'androidx.navigation:navigation-fragment:2.0.0'
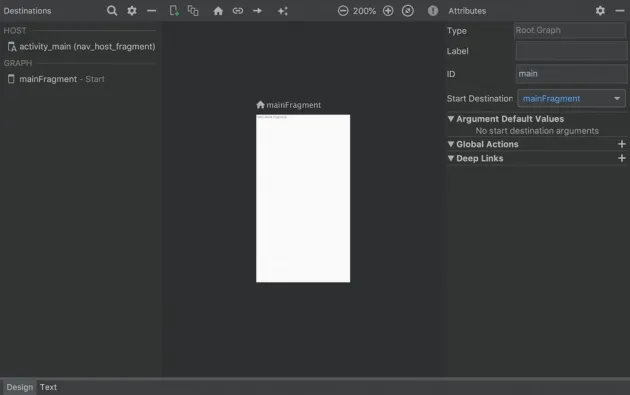
The Navigation Graph needs to contain a start destination that can be added by using the “New Destination” button.
Navigation is built on top of using a single Activity to handle Fragments switches. A NavHostFragment is responsible for loading a nav graph that defines the start destination and the actions that redirect to destinations.
"@+id/nav_host_fragment"
   android:name="androidx.navigation.fragment.NavHostFragment"
   ...
   app:navGraph="@navigation/navigation" />
Fragment needs a unique android:id, must be a NavHostFragment and contain a navGraph.
After this initial setup, launching the Activity that contains this NavHostFragment will present the start destination.
Navigate Between Destinations
In order to change destinations, we need to use NavController and call Navigate using an id of an action in order to trigger a transition between destinations.
NavController can be fetched using
Navigation.findNavController(getActivity(), R.id.nav_host_fragment)
and navigation can be invoked using
navController.navigate(R.id.open_details).
It is also possible to use a Helper to create a clickListener to make seems
a little bit more tidy:
button.setOnClickListener(Navigation.createNavigateOnClickListener(R.id.open_details));
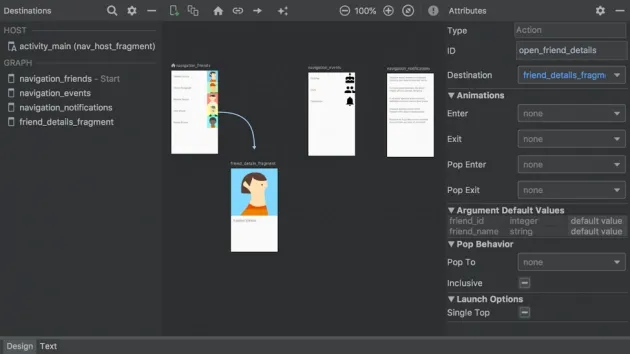
Pass Data Between Destinations
In order to establish the right connections between screens, each screen should have its Arguments defined and Actions should be created between screens. The action created between screens is what it is used to trigger the navigation and needs to be invoked programmatically using its id and the proper arguments using a Bundle.
In order to simplify passing arguments between destinations, you can use a Gradle plugin called Safe Args that auto-generates type-safe classes for the arguments required by each action to be used instead of Bundle. To add this to your project, you just need to add the following lines to each gradle file:
Project’s build.gradle:
classpath
      'androidx.navigation:navigation-safe-args-gradle-plugin:2.0.0'
App’s build.gradle: apply plugin:
'androidx.navigation.safeargs'
After this, each action will generate a new class that implements
NavDirections. These classes can be called
navController.navigate(directions)
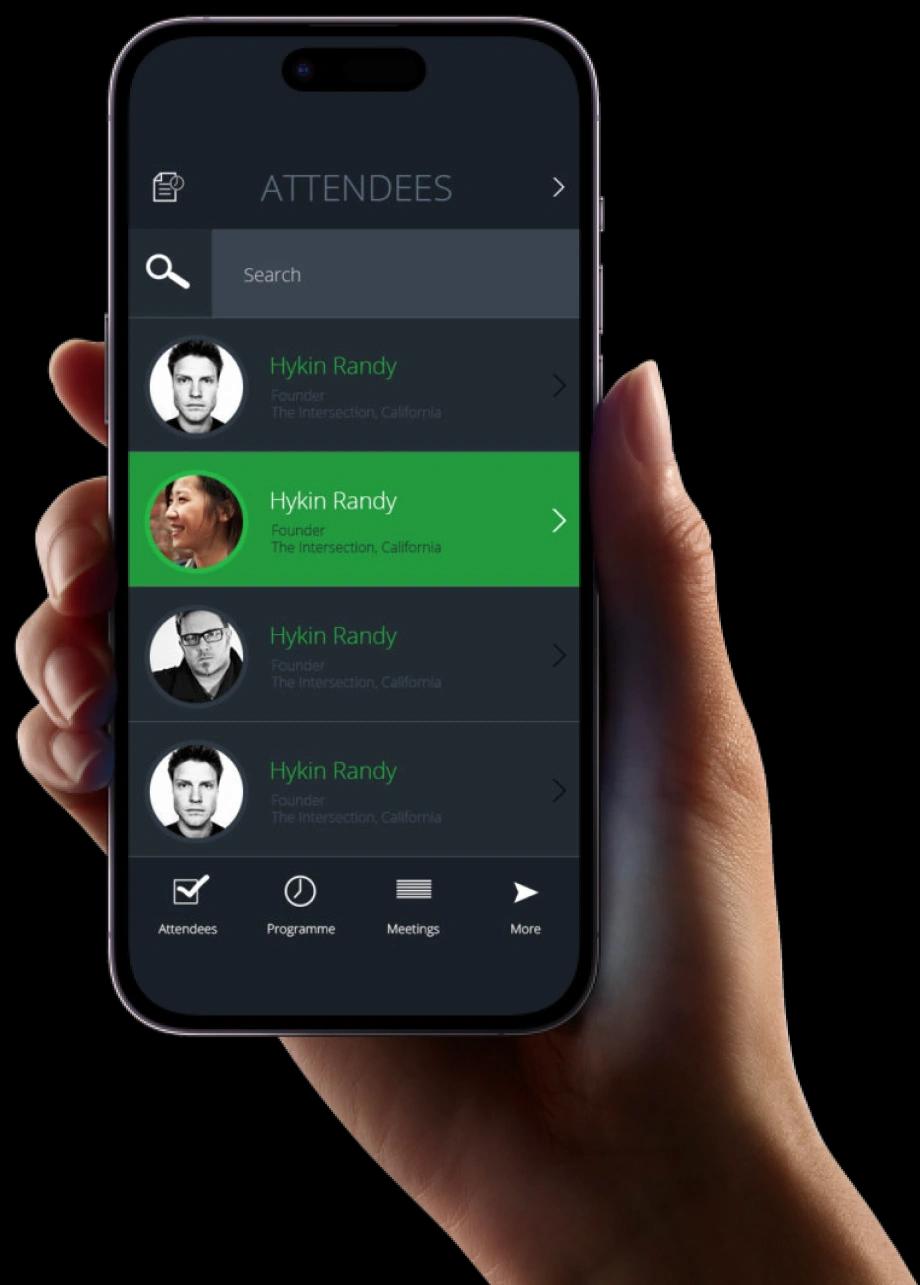
BottomNavigationView Based on Navigation
Using Android Studio 3.5 Beta 1, you can easily build a BottomNavigationView by using the Project Wizard and choosing the Bottom Navigation Activity as the start of your Application.
The result of using the Wizard to build this is solely having an initial
Navigation Graph, 3 Fragments and the MainActivity setup the links between
the BottomNavigationView and a Navigation Graph, using
NavigationUI.setupWithNavController(navView, navController);
Nevertheless, this will allow the Navigation to be managed by Navigation Component building a good foundation for next steps.
Navigation Component is a great way to build your Navigation flow that allows for anyone to easily grasp visually the screen flow of the App.
For more information about Navigation Component, you can consult the Navigation guide, take a look at this complete Navigation Codelab or check the video below.
Related Posts
Subscribe for Authentic Insights & Updates
We're not here to fill your inbox with generic tech news. Our newsletter delivers genuine insights from our team, along with the latest company updates.