Exaud Blog
Blog

Step by Step Augmented Reality Tutorial with Unity
Looking forward to get adventurous with Unity? Here’s a step by step tutorial for anyone who wants to get familiar with this platform! Posted onby João MeirelesLooking forward to get adventurous with Unity? Here’s a step by step tutorial for anyone who wants to get familiar with this platform!
Every month, we have a workshop at Exaud which is always done by one of our team members.
This initiative aims to make everyone lean over a topic, either it’s something they’re already familiar with and would like to know more about, or something entirely new. We’re able to discuss programming languages, new trends, case studies and academic works.
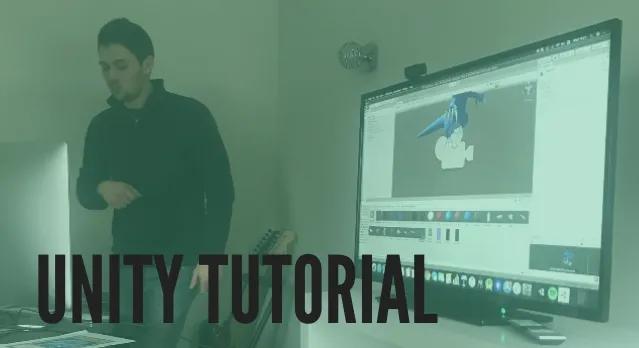
Last month, João Meireles taught us how to use Unity with a really quick and interesting tutorial that made every Yu-Gi-Oh! fan excited. Although it looks like a very elaborate ‘party trick’, this is one of the most amusing and interesting ways for anyone to start exploring the game engine platform Unity.
Here’s how you can bring a Blue-Eyes White Dragon to life using nothing but Unity and your Android phone.
1. Download and install the latest version of Unity with the Android extension included;
2. Create an Unity Account;
3. Go to Developer Vuforia and create a developer account;
4. Go to ‘Downloads’ and download the Vuforia packaged for Unity;
5. Open Unity, log in and create new 3D project;
6. Click on the downloaded Vuforia package – all the tools and components necessary to work with Vuforia will be automatically added to the Unity project;
7. Return to Developer Vuforia, click on ‘Develop’ tab, then on ‘License Manager’ option and create a developer license key;
8. In the right corner of Unity, you can find the tab ‘GameObject’ – click the option ‘Vuforia Engine’ and add an ARCamera and an image target to your project;
9. The ARCamera will have the necessary scripts in order to recognize images. Don’t forget to click the ‘Open Vuforia Engine Configuration’ button which is located in this component inspector. Once this option is selected, add the license you previously created on the Vuforia Website;
10. Download the database processed by Vuforia and the Project Unity (it comes as a package format as well). Click the package and it will be automatically added to the Unity project;
11. On Imagetarget, add a photo to the script ‘Image Target Behavior’, located in the ‘Imagetarget’ and also add the 3D model we want to show up once the camera is pointed at the chosen target;
12. At last, click on the right corner, access ‘File’, then ‘Build Settings’ and switch to Android Platform;
13. Connect an Android phone to the computer;
14. Make sure the scene is added to the build. Click the button ‘build’ and run;
15. This is the result you should get:
Is this your first time exploring Unity? Share your tutorial results with us!
Follow us on social media (LinkedIn, Facebook and Twitter) to keep up with our weekly news and blog posts!
Related Posts
Subscribe for Authentic Insights & Updates
We're not here to fill your inbox with generic tech news. Our newsletter delivers genuine insights from our team, along with the latest company updates.